In part one of this blog we looked at the different Disaster Recovery Solutions for RHV. In this part, we will look at the Active/Passive implementation in more detail, including how to set it up and run it. You’ll also find a recorded demo of the failover process.
Overview
A quick recap on what was discussed in part one of this blog. The Active/Passive architecture allows us to fail Virtual Machines over to a Disaster Recovery site in the event of a failure in the Primary site. The solution also provides the necessary orchestration to failback to the Primary site when appropriate. We leverage the power of Ansible to orchestrate the failover. The necessary Ansible roles are provided in a rpm called ovirt-ansible-disaster-recovery which is shipped as part of the RHV product.
From an underlying infrastructure perspective, we obviously need some hypervisors in our DR site to fail the workloads onto. The DR site also needs it’s own RHV Manager. We also rely on replicated storage between sites. The orchestration of the storage replication is not covered by the Ansible roles that are shipped with RHV. A storage administrator needs to setup the replication beforehand. They will also need to make the storage read/write in the secondary site at the point that DR is invoked.
Let’s take a high-level view of the DR process. In advance of the disaster, one must generate the mapping file which maps entities from the Primary site to the DR site. For example, workloads in “Cluster1” in the Primary site should be failed over to “Cluster2” in my DR site. This mapping file is used during the failover and failback process.
In the event of a disaster, the storage must be made read/write in the DR site. The process for this will vary depending on the nature of the disaster and the type of storage. The “failover” Ansible playbook can then be run. This will mount the storage domains at the DR site. Virtual Machines are then registered and started. Any VM’s marked as Highly Available are started first.
Once the Primary site is brought back online, it must be prepared. This is part of the “clean” Ansible playbook. Any replicated storage domains need to be removed from the RHV Manager. A storage administrator will need to ensure replication is now taking place from the DR site to the Primary site.
When ready, the failback playbook can be run. This stops the VM’s in the DR site and removes the storage domains from the RHV Manager. The playbook then pauses and waits for the administrator to confirm that replication has been stopped and the storage is now read/write in the Primary site. Once confirmed, the playbook will import the storage domains at the Primary site, register the VM’s and start them up. The final step is to ensure the storage replication is switched so that the Primary site is once again replicating to the DR site.
Demo Environment
I am using nested virtualisation for my lab. For the storage replication, I am using GlusterFS and geo-replication. This is asynchronous replication which is not recommended but it serves the purpose for this demo. Synchronous replication is recommended for replication between sites.
Each “site” has a RHV Manager. The RHV Manager is configured with a single cluster containing a singe RHV Host. I’ve got two small cirros VM’s which I will failover in this demo. One is marked as Highly Available to demonstrate the fact that HA VM’s are started before standard VM’s.

Setup
All of the files mentioned in this setup section are available in my github repo here
Don’t worry. All of the below playbooks are fully documented in the Red Hat documentation for RHV DR.
Generate Mapping
First create a variable file containing the passwords for the RHV manager. I’m creating a file called passwords.yml here with these contents:
---
dr_sites_primary_password: Redhat123
dr_sites_secondary_password: Redhat123
Encrypt the file with ansible-vault to avoid leaving passwords in plaintext.
$ ansible-vault encrypt password.yml
Now we can create the playbook that will generate the mapping file for us called generate_mappings.yml
---
- name: Generate mapping
  hosts: localhost
  connection: local

  vars:
    site: https://rhvm-primary.example.com/ovirt-engine/api
    username: admin@internal
    password: "{{ dr_sites_primary_password }}"
    ca: /root/DR/primary_ca.pem
    var_file: disaster_recovery_vars.yml

  vars_files:
    - passwords.yml

  roles:
    - oVirt.disaster-recovery
Now run the playbook to generate the mapping variable file. This will log into the RHV Manager at the Primary site and retrieve details on components such as storage, networking and clusters.
$ ansible-playbook generate_mappings.yml --tags generate_mapping --ask-vault-pass
A file called disaster_recovery_vars.yml is generated. This needs to be edited to allow you to map components from the Primary site to the Disaster site. For example, the login details for the Disaster site:
dr_sites_primary_url: https://rhvm-primary.example.com/ovirt-engine/api
dr_sites_primary_username: admin@internal
dr_sites_primary_ca_file: /root/DR/primary_ca.pem

# Please fill in the following properties for the secondary site:
dr_sites_secondary_url:  https://rhvm-secondary.example.com/ovirt-engine/api
dr_sites_secondary_username:  admin@internal
dr_sites_secondary_ca_file: /etc/pki/ovirt-engine/ca.pem
And also the cluster mappings:
# Mapping for cluster
dr_cluster_mappings:
- primary_name: Primary
  # Fill the correlated cluster name in the secondary site for cluster 'Primary'
  secondary_name: Disaster
Create Failover/Failback Playbooks
Now we can create the playbook that we will use to initiate the failover from our Primary site to our DR site. In this example the playbook is failover.yml
---
- name: Failover RHV
  hosts: localhost
  connection: local
  vars:
    dr_target_host: secondary
    dr_source_map: primary
  vars_files:
    - disaster_recovery_vars.yml
    - passwords.yml
  roles:
    - oVirt.disaster-recovery
And the failback playbook to allow us to failback to our Primary site once it has been restored (The same playbook but with the source and target reversed). The playbook here is called failback.yml
---
- name: Failback RHV
  hosts: localhost
  connection: local
  vars:
    dr_target_host: primary
    dr_source_map: secondary
  vars_files:
    - disaster_recovery_vars.yml
    - passwords.yml
  roles:
    - oVirt.disaster-recovery
Finally, the cleanup playbook. This is used to clean the Primary site ready for failback - clean_primary.yml
---
- name: clean RHV
  hosts: localhost
  connection: local
  vars:
    dr_source_map: primary
  vars_files:
    - disaster_recovery_vars.yml
  roles:
    - oVirt.disaster-recovery
Failover
To failover we need to ensure that the storage replication is stopped and is made read/write in the DR site. Once this is confirmed, we can run the Ansible playbook to failover.
$ ansible-playbook failover.yaml --tags fail_over --ask-vault-pass
Cleanup and Failback
Once the Primary site is brought back online we can begin the failback process. Storage now needs to be replicated from DR site back to Primary site. The primary site also needs to be cleaned to ensure storage domains are not imported.
$ ansible-playbook clean_primary.yml --tags clean_engine --ask-vault-pass
When ready, initiate the failback. The playbook will pause and wait for you to confirm that the storage replication has been stopped and that storage domains are now read/write in the Primary site.
$ ansible-playbook failback.yml --tags fail_back --ask-vault-pass
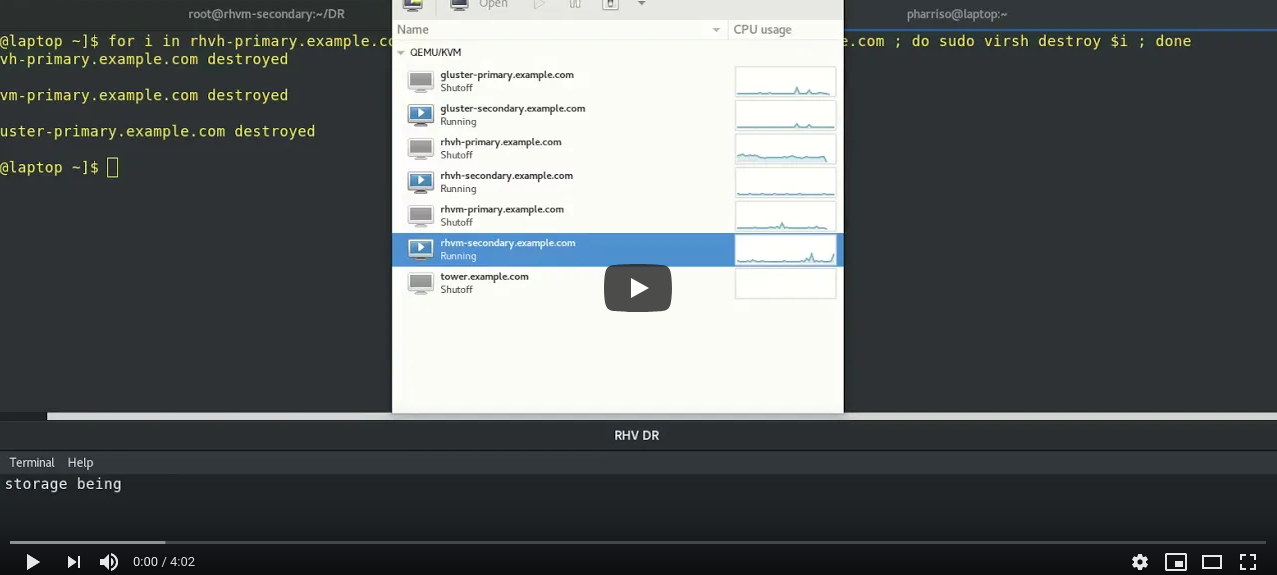
Demo
The following video demonstrates the failover process.